
Hello! it's Esther from
estieMade, with the third installment of
Craft Blast from the Past. This series is all about taking an old school craft and using it in a new and modern way.
Today, we focus on Sculpey. It's a bake-able polymer clay that you can buy at your local craft store. Some of y'all may have used this to make your own beads for necklaces growing up. Or maybe you made a 'plate' with an imprint of your hand on it to give to your Mom for Mother's Day in second grade.
Fast forward a bunch of years, and this is what you can do with Sculpey now: make a little bowl for your jewelry.
The inspiration for this came from this
tutorial from Sodapop design. It’s in German, but the pics are pretty self explanatory. I translated the text using Google translator, and came up with this adapted tutorial.
To start, I gathered my materials:
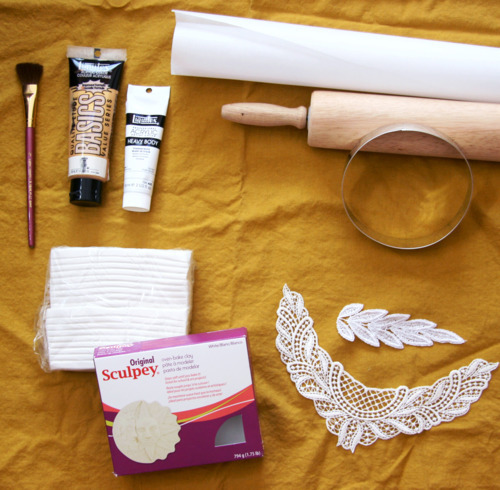
-Sculpey clay (I got this at JoAnn Fabrics)
-lace to make your design (a paper doily works fine too)
-a cookie cutter (a cup works fine too)
-rolling pin
-either wax paper or a silipat to roll the clay on
-acrylic paint (optional)
Steps
First, roll out the Sculpey onto the Silipat (or wax paper). Make sure you roll the clay out evenly, so that the entire piece is the same depth (about .25").
(By the way, don’t roll your clay out directly on the counter, or you will have to restart. I made that mistake, and couldn’t scrape the clay off the counter without ruining the design.)
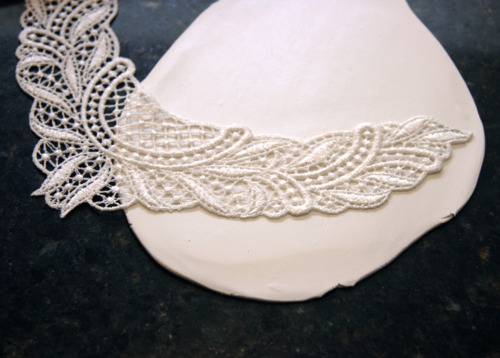
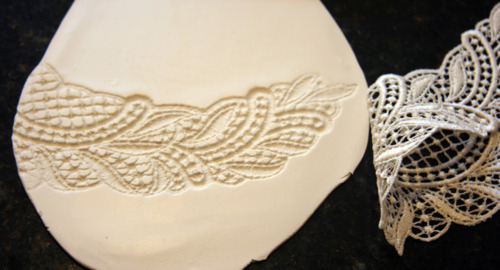
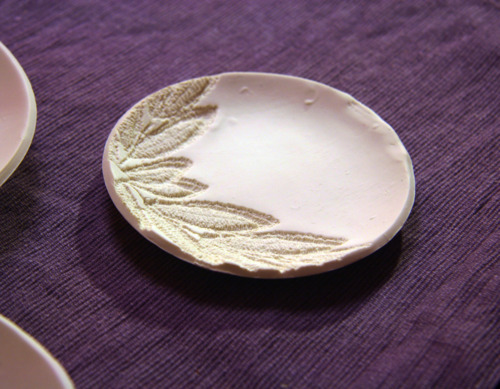
Then roll the lace into the clay.
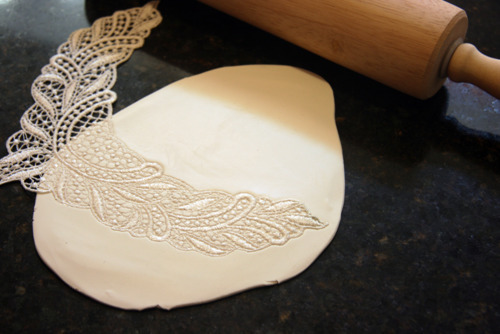
Carefully peel back the lace
.
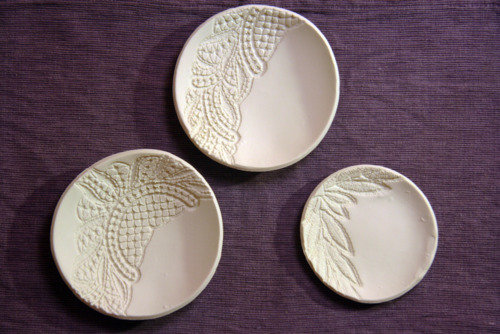
Use your cookie cutter to cut the clay into a circle.

Next, peel the clay circle off the Silipat, and put it into a oven-safe bowl. I didn’t want the finished bowl to be too deep, so I used a shallow one.
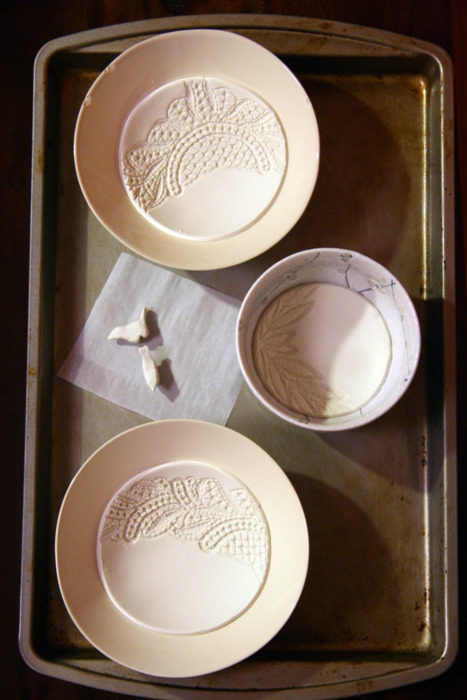
The oven-safe bowls went on a cookiesheet, and were baked. I just followed the baking instructions on the Sculpey packaging.
After they were done baking, Let the clay cool in the bowls.
Now for the finishing touches.
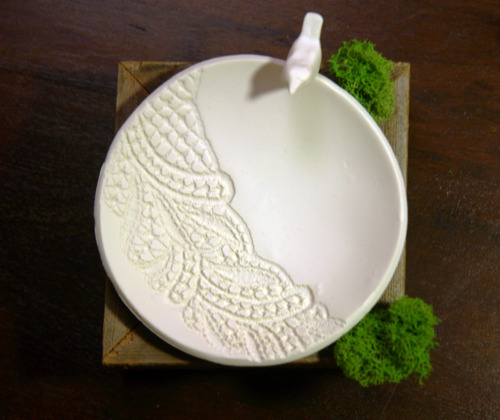
I ended up making a little birdie to perch on the lip of one of the bowls. To make it easier to glue the bird to the bowl, I cut out a little triangle of clay from the bottom of the bird. This was baked standing up, at the same time as the bowls.
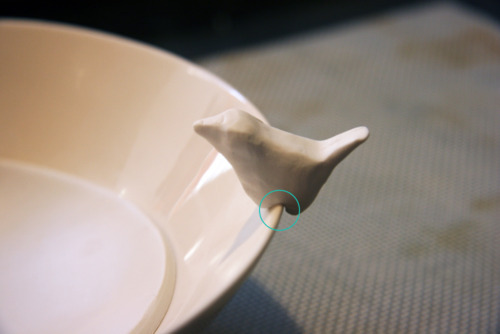
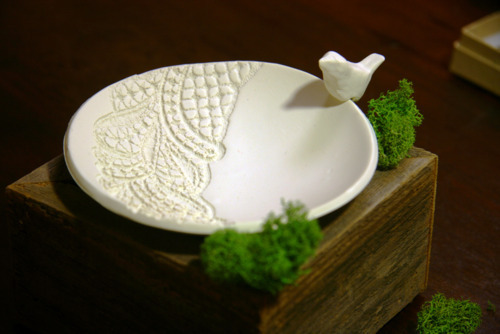
I attached the little bird I made to the lip of one clay bowl.
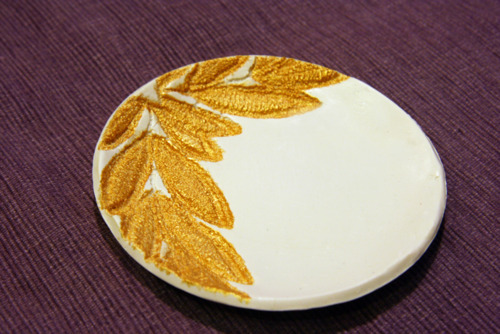
On another bowl, painted it with two coats of gold acrylic. Had to use a small brush to do this, for more precise painting.
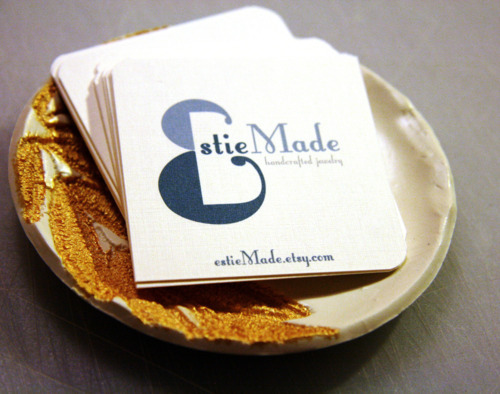
I ended up using this as my business card holder at last year's
Handmade Bash.
These bowls are pretty versatile – and they look pretty good, for being made out of Sculpey!


