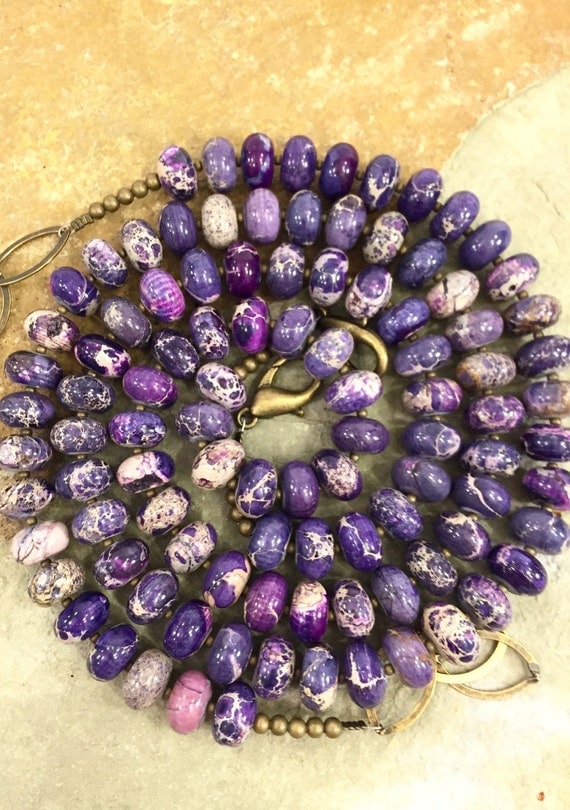
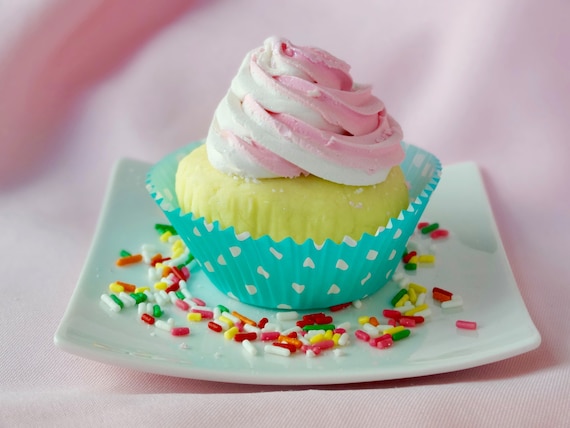
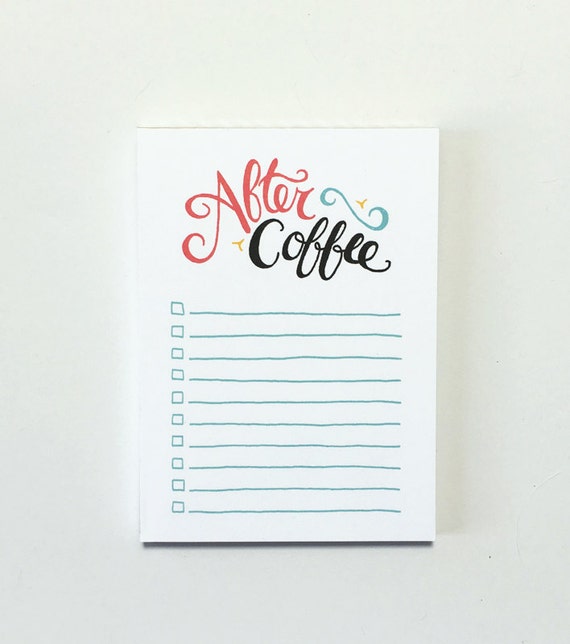
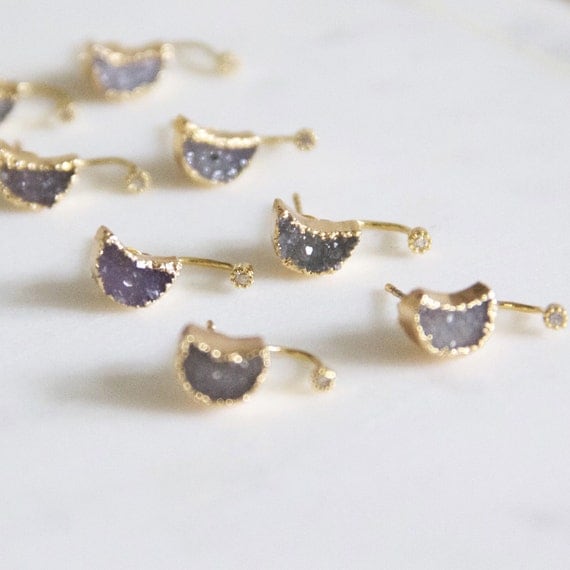
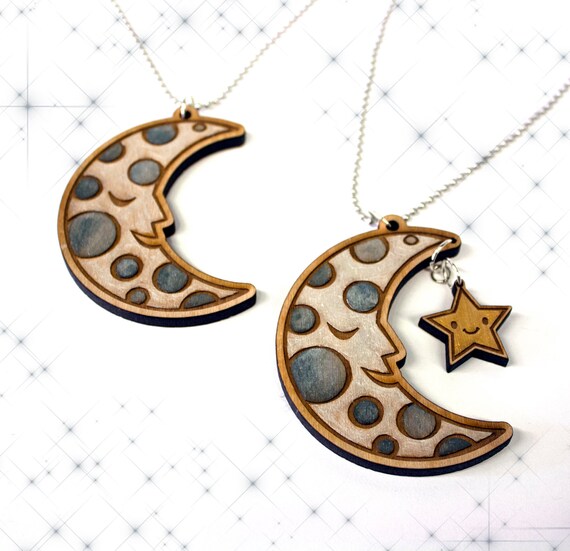
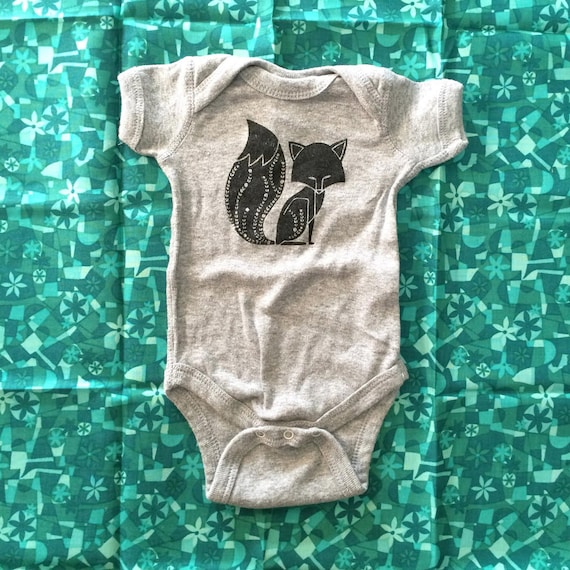
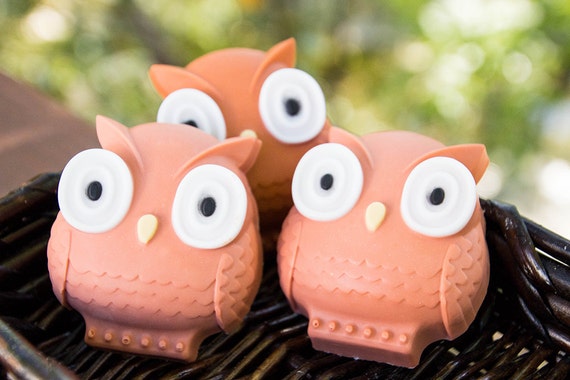
We have been busy bees getting ready for the upcoming annual Spring Bash on April 30th! Check out some of the colorful new goodies from our artists that are making their debut!
Thursday, March 31, 2016
Saturday, March 26, 2016
How to Make a Linocut Block by Wandering Paper Co.
Allow me to introduce you to Alex George, new Etsy Dallas member, and creative spark behind the eclectic, multicultural inspired prints and cards at Wandering Paper Co.
She has thoughtfully prepared a linocut and block printing tutorial, and has given me permission to share. Enjoy and check out her vibrant shop and blog!
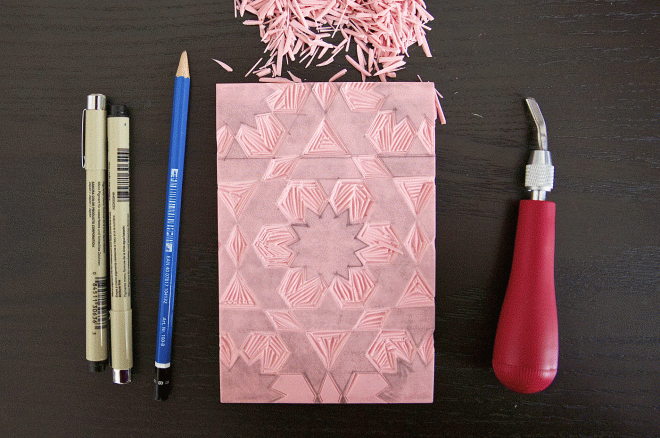
Materials:Speedball Speedy-Carve block, size 4x6"Hard Rubber Brayer Pencil & Paper Adobe Illustrator (optional), Speedball Linoleum Cutter & Assorted Attachments
First, measure a 4x6 rectangle on a sheet of paper. You can do this quickly by tracing your 4x6 block.
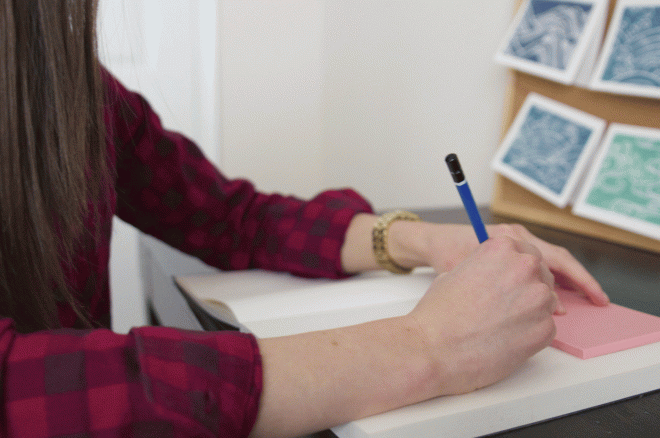
Sketch out your design in pencil first. After I sketch my design out, I usually scan the drawing and fine-tune it in Adobe Illustrator. If you don't have Illustrator, don't worry, this part is optional.
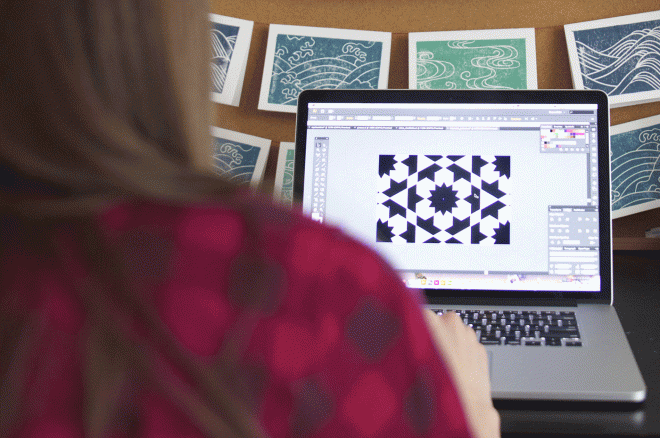
If you do design your print on the computer, print it out and color in the negative space with pencil. If you sketched your print out by hand, you can skip this step.
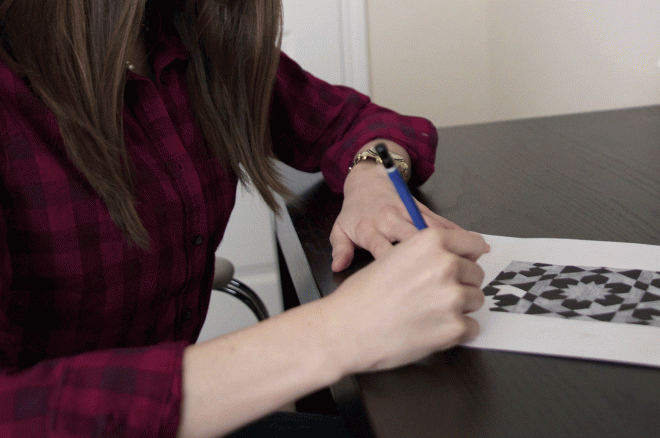
Now you will transfer your pencil sketch to the rubber block. Carefully lay your rubber block over your sketch so the edges align. Use your hard rubber brayer (or your fingers) to press down on the rubber block so the graphite from the pencil transfers from the paper onto the block.
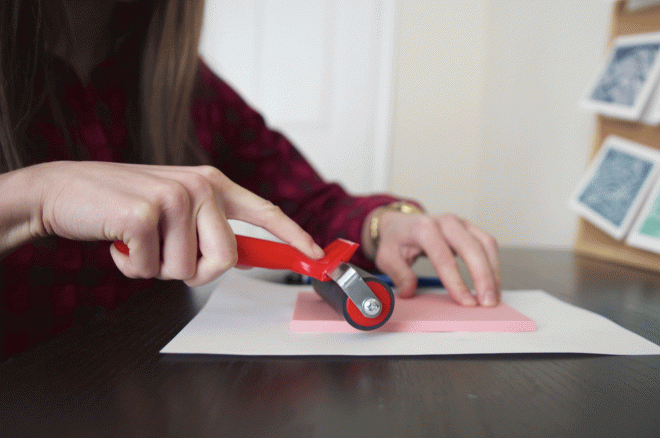
Lift up the block and use your pencil to touch up any areas where the graphite did not transfer.Now use your linoleum cutter to carve your design out of the block. A few tips: Use the tool in a pushing (not pulling motion) for best results. Also, turn the block, not your hand when making a curved line.
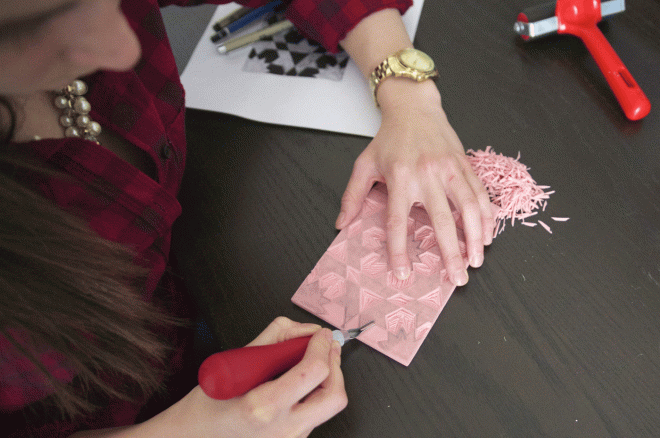
Voila! Your block is carved, and you're ready to print!
Thank you so much for sharing your art with us, Alexandra! Hop on over to her beautiful blog to see how to use your carved linocut block to print in Part 2 of her series! Happy Saturday, friends and crafters!
Labels:
alexandra george,
block printing,
how to,
linocut,
new member,
tutorial,
wanderingpaperco
Etsy Dallas Artisan Market at Taste of Dallas--Announcement and Artists' Applications are Open!
Wednesday, March 23, 2016
Easter & Spring Gifts from Etsy Dallas
Celebrating with your family this weekend? Check out these unique candy alternatives every bunny is sure to love, handmade in Dallas, Texas by our very own talented makers! Click the pictures to take the link!
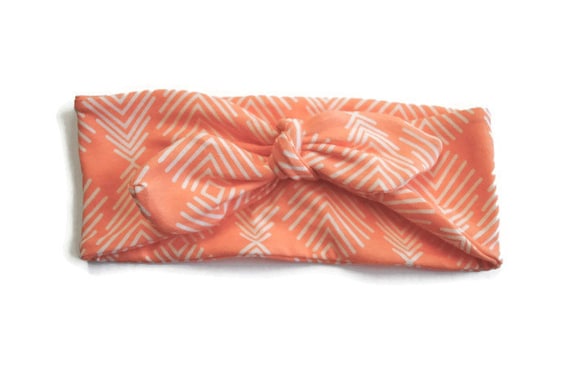
1. Knot Baby Headband by PreciousLittleTot
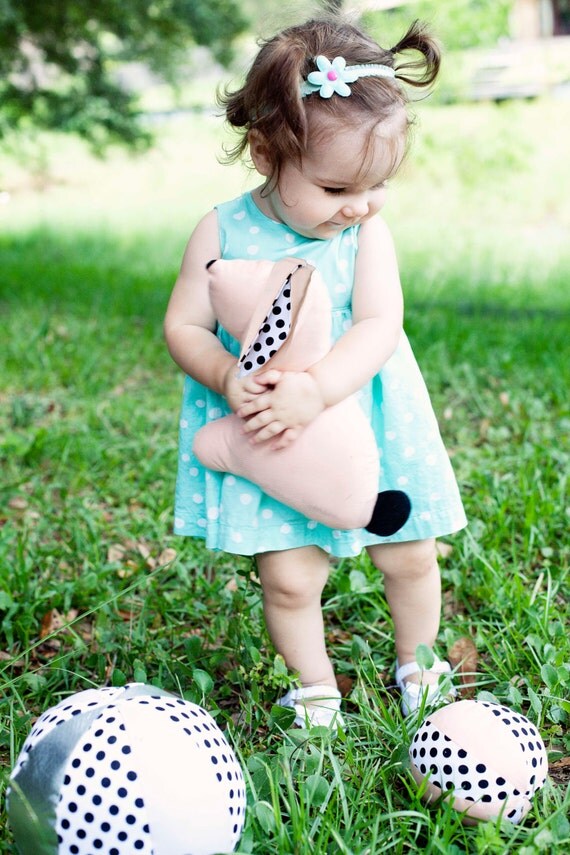
2. Organic Pastel Bunny Plush by RegalCottage
3. Wooden Moon Pendant by SurlyBunny
4. Cucumber Melon Bath Bomb by WhippedUpWonderful
5. Foxy Fox Baby Onesie by DowdyStudio
6. Owl Soap by ThePigAndThePeacock
1. Knot Baby Headband by PreciousLittleTot
2. Organic Pastel Bunny Plush by RegalCottage
3. Wooden Moon Pendant by SurlyBunny
4. Cucumber Melon Bath Bomb by WhippedUpWonderful
5. Foxy Fox Baby Onesie by DowdyStudio
6. Owl Soap by ThePigAndThePeacock
Sunday, March 20, 2016
Learning Opportunities from Etsy Dallas
We are delighted to continue to offer learning opportunities with the Etsy Dallas Team and Dallas Makerspace. Our first class of the year is Craft Show Like a Pro. If you are new to craft shows, need help with your booth and displays, or are just a little rusty this would be a great class to attend!
Class info
Date: April 2nd
Time: 12:00-2:30pm
Where: Dallas Makerspace, 1825 Monetary Lane #104 Carrollton TX 75006
Cost: $15
Ticket Info
In the class we will cover everything from how to prep inventory, booth designs, displays, what to bring and how to take payments. We will also have an open discussion/booth critique at the end.
Hope to see you there!
Labels:
classes,
craft show,
dallas makerspace,
etsy class,
etsy success,
learning
Subscribe to:
Comments (Atom)


